Needless to say, we’ve been busy and we have a lot of news to share. It’s a doozy of post. Today, we have released Pano2VR 5.1 and Pano2VR 5.2 beta.
Summary (TL;DR)
Pano2VR 5.1 is out of beta! Download - Videos
We are also introducing Pano2VR 5.2 beta that includes a Google Street View Export. Video
Pano2VR 5.1 — What’s New
We’ve been in beta for long enough and today we are happy to bring you Pano2VR 5.1 - without the beta. We’ve done a lot since October 2016, so if you haven’t been keeping up with the beta updates then keep reading.
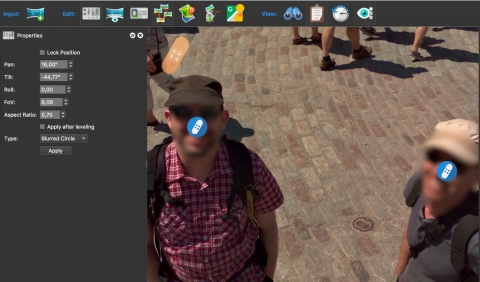
Projections in Viewer and Animation Editor
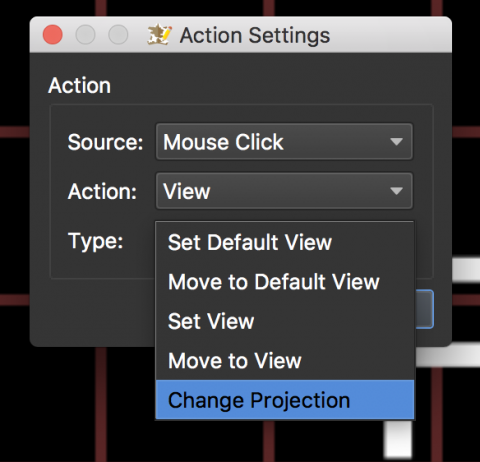
The main addition to 5.1 is the ability to view and change projections in the Viewer and the Animation Editor.
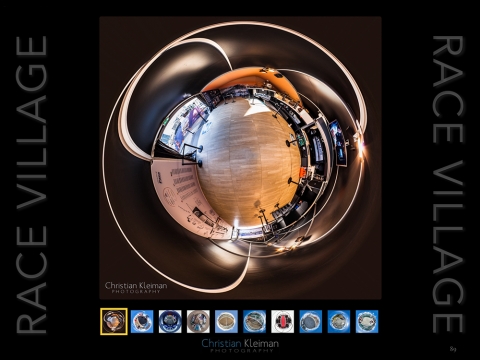
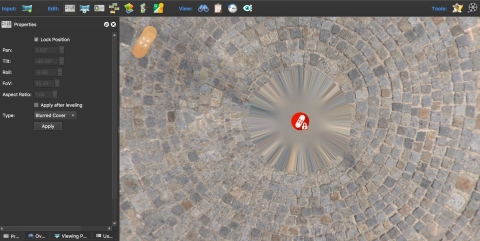
This allows for a few things to happen. You can, for instance, open or start a panorama from a little planet that transitions to the rectilinear projection. We call this a Fly-in effect.
Another thing you can do with this option is transition to and from different projections in the Animation output. This means you can export a standard video that can show your panorama in multiple projections.
You can also dynamically change projections with skin actions.
Skin Editor
We added two more tools: the Video Element and Seek Bar. The Video Element allows you to easily add videos to your projects, especially pop-ups. The Seek Bar is added so you have a universal seekbar rather than relying on the browser’s.
360º Video Workflow
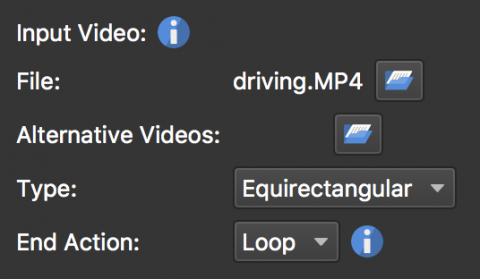
If you worked with 360 video in Pano2VR before, you had to first convert the video frames to a 3x2 format. You no longer need to do this; just add the equirectangular video to the Video Input section of the Properties Panel.
More great stuff
- Added export for GearVR using the Horizontal Strip (VR) format
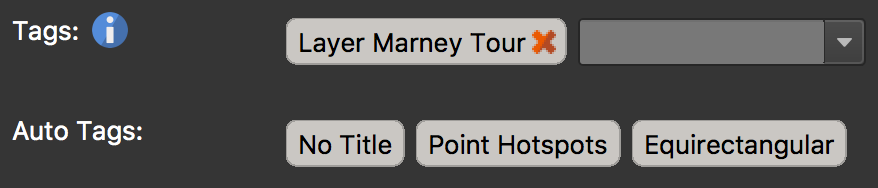
- Auto Tagging in Pano2VR Pro
- Custom colors for Polygon Hotspots
- Custom node IDs for direct node access
Pano2VR 5.2 beta — What’s New
The big news is the Street View Export, but there are also some other new features that are also helpful for regular tour building.
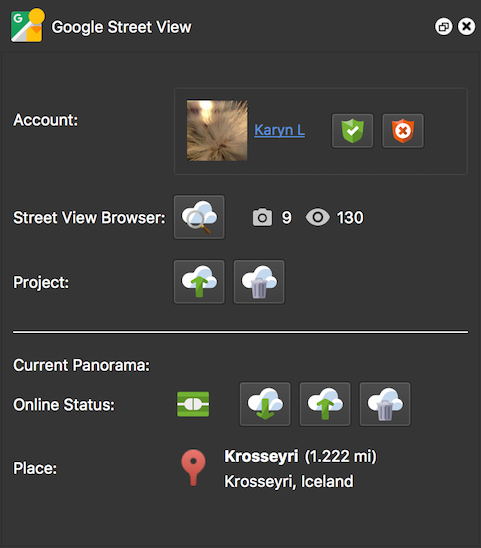
Google Street View Export
Pano2VR 5.2 beta features the new Google Street View Export. Just as we promised in our last post, we have integrated the export as part of the software.
Open the Street View Panel from the Toolbar, connect your Google account and upload your project directly to Street View.
To add connections just add hotspots to link the panoramas.
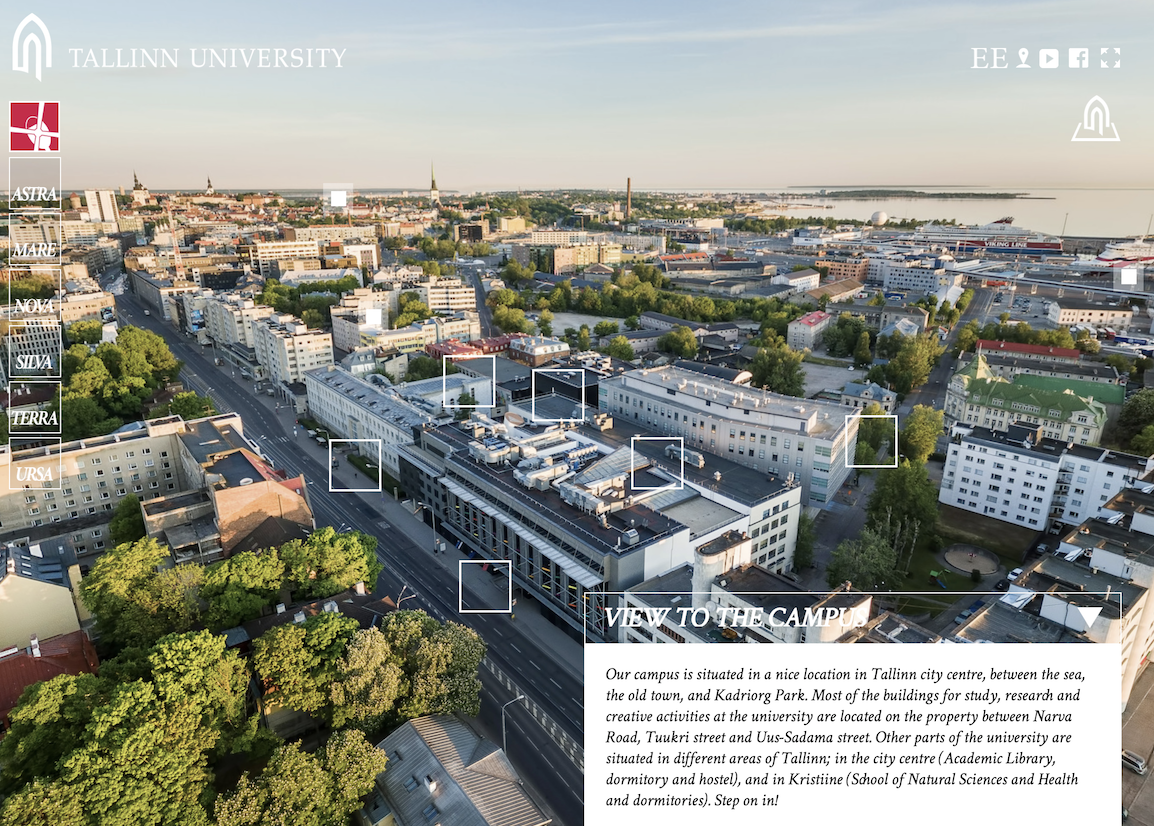
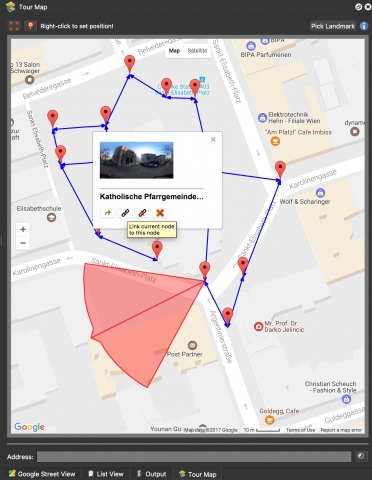
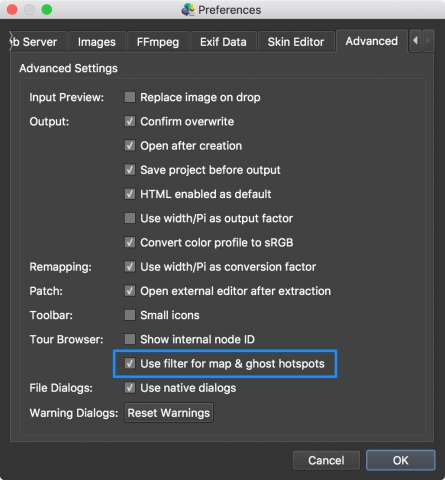
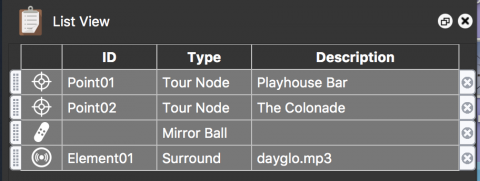
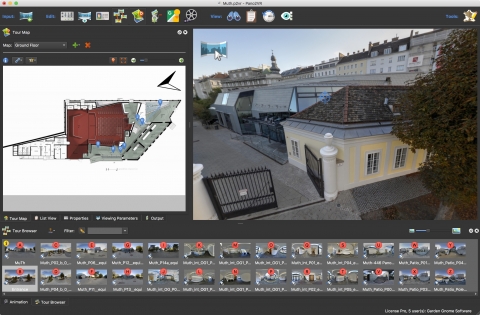
Improved Map View
You can now see linked nodes and you can also create links (hotspots) directly in the map.
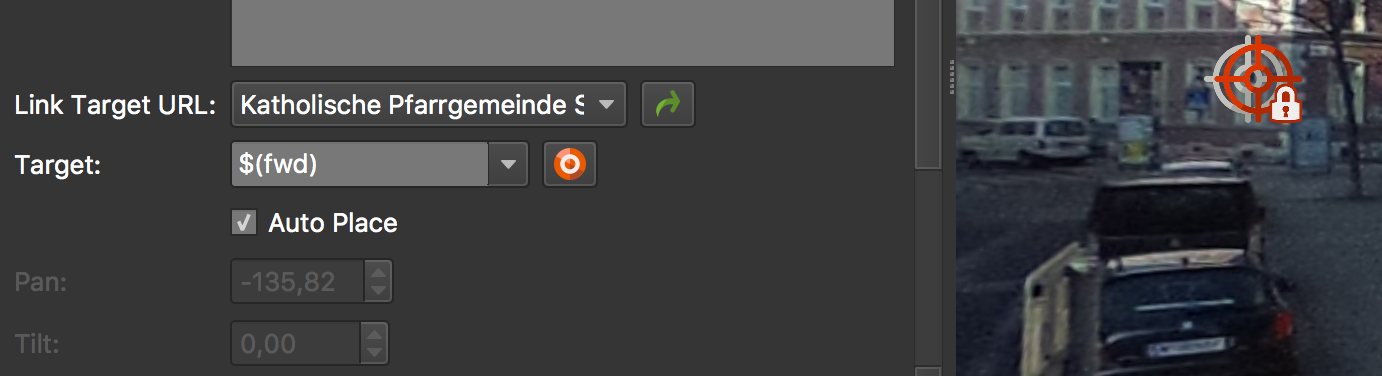
Auto Place Hotspots
In the Hotspot Properties panel, you will see a new option called, Auto Place. When this is selected, the hotspot is automatically positioned in the correct location of the linked panorama.
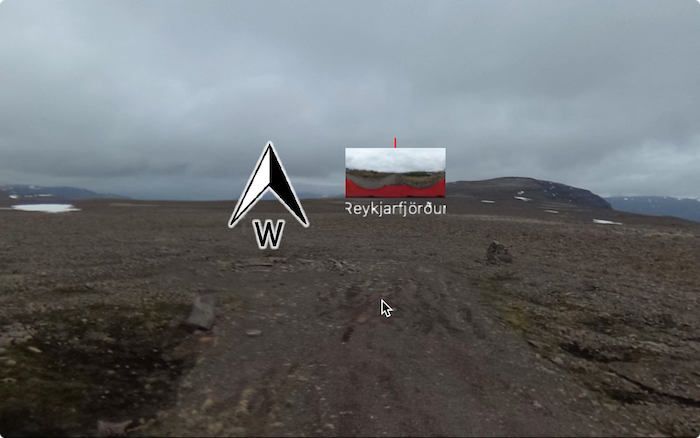
Set North
You can now set North by pressing N and dragging the panorama to achieve the correct heading.
If you have connected hotspots in Pano2VR Pro, you will see a thumbnail of that panorama to help guide placement.
Martin has created a video that shows the process:
Resources
You can read all about the added features in our documentation.
We also have a growing library of video tutorials.